No matter how good you think your photographs might be right out of the camera or smartphone, they can almost always be improved through even a few modest editing tweaks. I never even post a photo on social media without editing it first. It’s a critical step in photography, but one that’s often overlooked.
Before diving in, a quick word about filters: No.
Well, okay, most of the time my advice is to avoid using the filters available in Instagram, Twitter or Facebook. Though some filters are excellent, subtle combinations of the things you’d do in a proper photo editor anyway — contrast, saturation, brightness — they also might be additive processes that degrade your image quality and push the photo too hard in certain directions. Furthermore, by now they create very familiar effects and usually don’t do a better job than you could by making adjustments yourself for just a minute or two. Bottom line: Filters are not the same as properly editing an image.
So let’s say you’ve shot some images that you think are pretty cool. What do you do? First, import them to your smartphone, tablet, or personal computer. This might be done by wi-fi (ideal, fast) or the old-fashioned way, via USB or by popping out the SD card and transferring data from that. Hopefully you’ve shot your images as RAW files in addition to JPG. (RAW files are unprocessed full-data files; JPG’s are processed and compressed images.) You may be happy with the JPG, but if not, it’s always good to have the RAW file to work from later, since those give you more flexibility while editing the image.
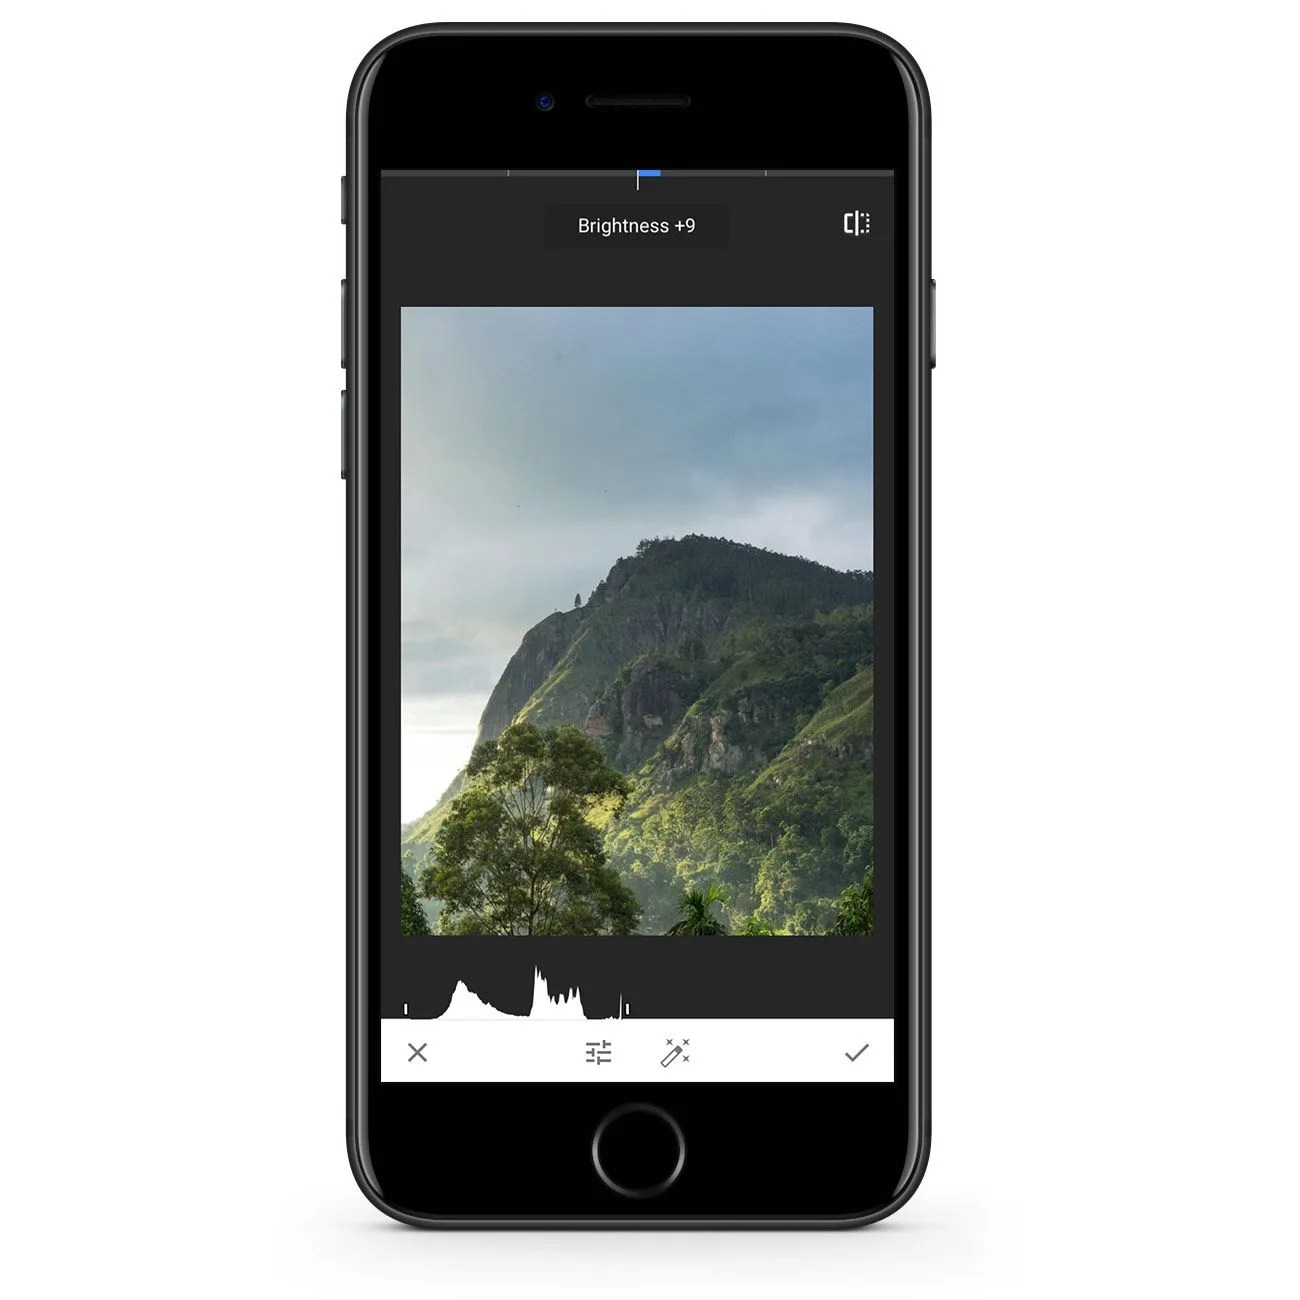
In terms of software, most pros use Lightroom or Photoshop to edit their images. That’s not critical — even smartphone software like Snapseed can give you terrific results. The photo editors that come with mobile and desktop computers can also handle the basics, but make sure you’re editing a duplicate of the original photo, since many of those programs tend to work directly on the image you open. In general, always make backups of your original images before working on them.
When you import the photo into your editor, whether on your smartphone or computer, a good first step is to straighten your image, in case you didn’t quite nail it. Make sure the horizon is straight, if visible, or pick a prominent vertical or horizontal line that and use that as your reference. Or just go by your gut — sometimes, particularly with wide-angle lenses, vertical and horizontal lines may be distorted. In that case, you’ll want to just “straighten” the whole scene based on what looks right.
Avoid cropping, if you can, since that cuts into the resolution of your final image. (If there’s something in the frame that bothers you — a stray tree branch, say — you can usually flick it out with the “healing” or “repair” function in editing software, with which you can delete elements of a photo, often seamlessly.) But if you have enough megapixels, careful cropping can indeed help improve a composition. One note to smartphone shooters: Don’t do the whole pinch-to-zoom thing while taking your original photo. It’s not a legitimate optical zoom, but rather a digital zoom that’s effectively the same exact thing as cropping your photo later. You lose resolution, and you can’t get it back.
Now it’s time to dig into the photo. Most editing software uses sliders to adjust images for different qualities, including brightness, contrast, saturation, structure, warmth, sharpen, ambiance, highlights, shadows and warmth. You might have to select the category from a menu or tap on the screen to activate a pop-up menu, then slide your finger up and down to select which category to edit. Sometimes other editing options are hidden elsewhere in other menus, such as “details” in Snapseed and “lux” in Instagram’s photo editors.
In all cases, you want to ease into the edit. Don’t swing the slider all the way to 100 percent and move on. What I typically do is slide it back and forth a few times to determine what degree of application improves the image while still letting it look the most natural. Then I dial it back a few percentage points further just to be safe. In photo editing, usually less is more.
Generally, the most effective edits will likely come from making tweaks in this order: contrast, brightness, shadows, ambiance, details/lux, and structure. Note: structure, details, clarity, saturation, and warmth will be the trickiest, because if not wielded carefully they can make your final image look extremely unnatural. (They can also make them pop nicely. I’m just saying to be careful with them.) Apply them last, and start modestly. “Be particularly gentle with clarity and saturation,” notes photographer Toby Gelson, creator of PhotoRec.Tv. “I have a friend says these are like salt on food. A dash can really help but too much and it will quickly taste terrible. I never make global saturation adjustments above +5, and clarity rarely above +30.”
When you’re done with your first try, take a look at your image and see what you think. If you like it, save a copy of it and put it aside. Once you do that, re-open that saved image and mess with it some more to see if one of the settings can actually improve the picture when pushed to the far end of the spectrum. (In rare occasions, you might actually want to double an editing tool’s effectiveness by saving your first pass and starting over with it. Again — be cautious!) Save that and compare it to your first edit, then go with the winner.
Dunzo! When you go to share your image, the software you’re using will have its own set of editing tools. It’s okay to try those as well, but just make sure your image looks natural — not something that’s bled out of contrast or detail or gradual transitions in light, or looking like an emaciated, over-processed mess. Going too far with your editing can offend the viewer’s eyes.
Finally, don’t be afraid to seek help from an online or offline community. “Find a group of photographers you are comfortable with, then regularly share your work and ask for feedback,” Gelston advises. As you gain more experience, you’ll learn more and more about what makes a good photo better. Your editing will be faster — in part because your shooting will improve in the first place.