Sharpen a Chef’s Knife in Five Steps

Josh Donald, co-proprietor of Bernal Cutlery in San Francisco, gives a lesson in Japanese whetstone sharpening.

In the long list of skills grandpa knew better than us, there’s the ancient art of knife sharpening. It takes more than a honing steel and a couple swift swipes of the blade to tighten an edge: there’s grinding, stoning, rinsing, repeating and polishing. Fortunately, unless you’ve been clearing underbrush with your chef’s knife, it can be sharpened at home with a few small tools and the right knowledge.

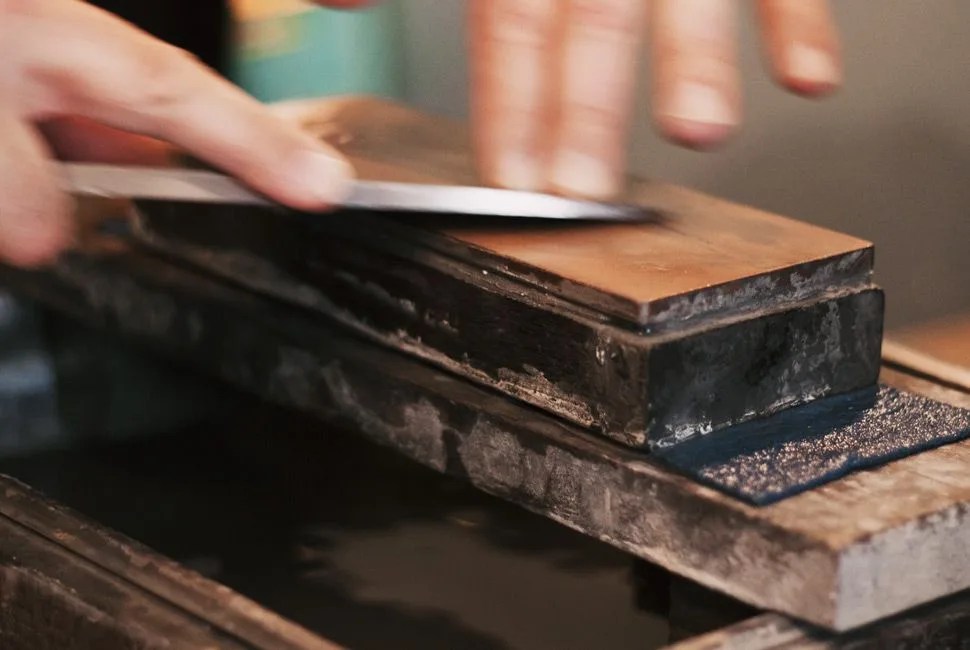
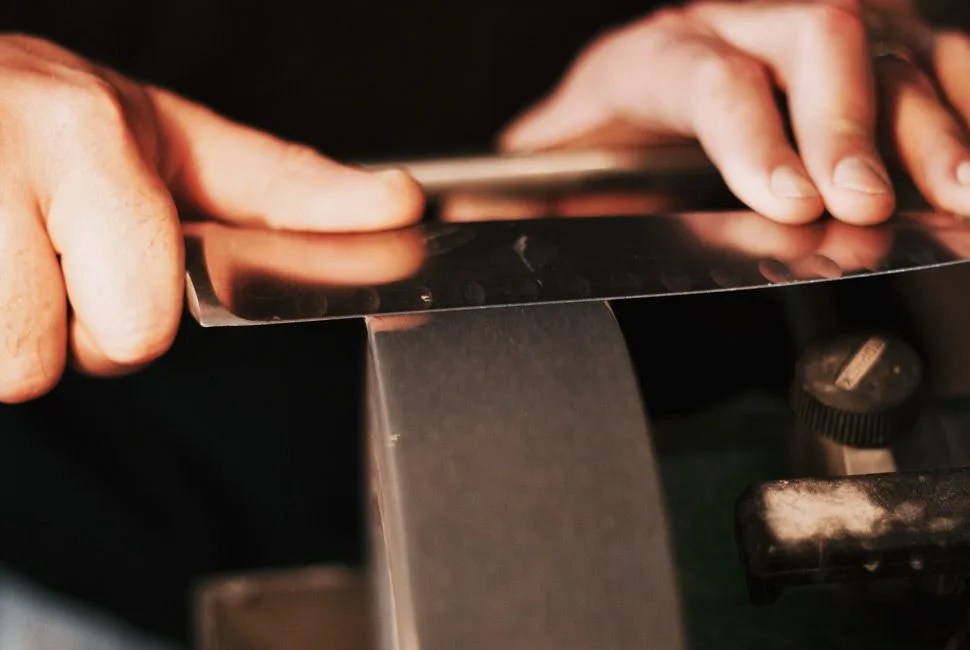
Josh Donald is the co-proprietor, along with his wife Kelly Kozak, of Bernal Cutlery, which fine-tunes the steel of the best chefs in San Francisco (like Stuart Brioza of State Bird Provisions). Knife sharpening relies on feel, and Donald’s early start (with a pocket knife at the age of five) got him plenty of touches before he honed his skill. He tinkered for years before opening a shop at age 30. He advised us on the samurai way — Japanese whetstone sharpening. His primer gives an overview of whetstone sharpening, but check in with a local shop for a sharpening class on the intricacies specific to your cutlery.

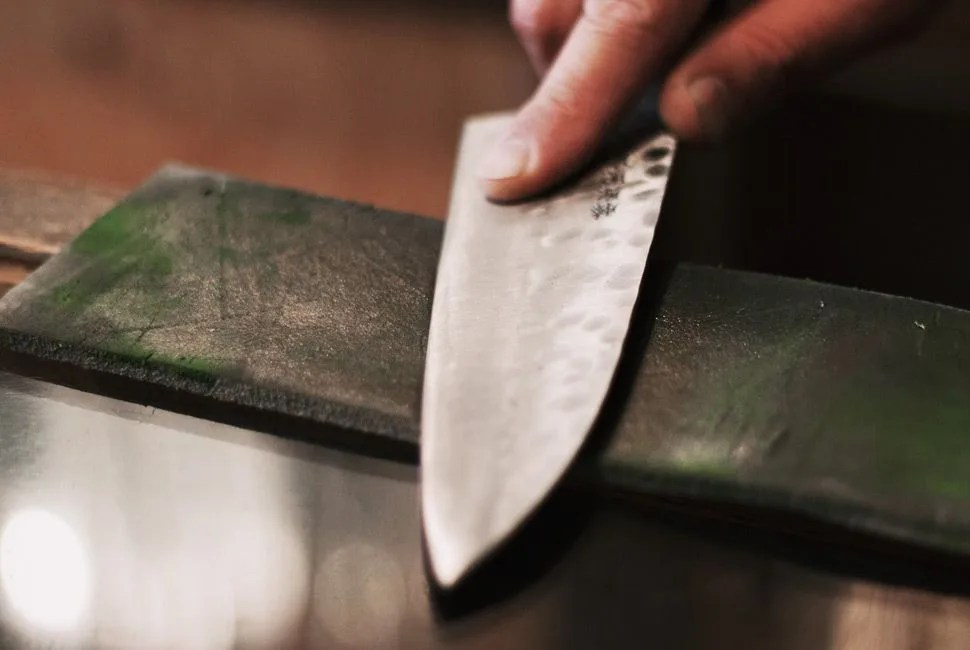
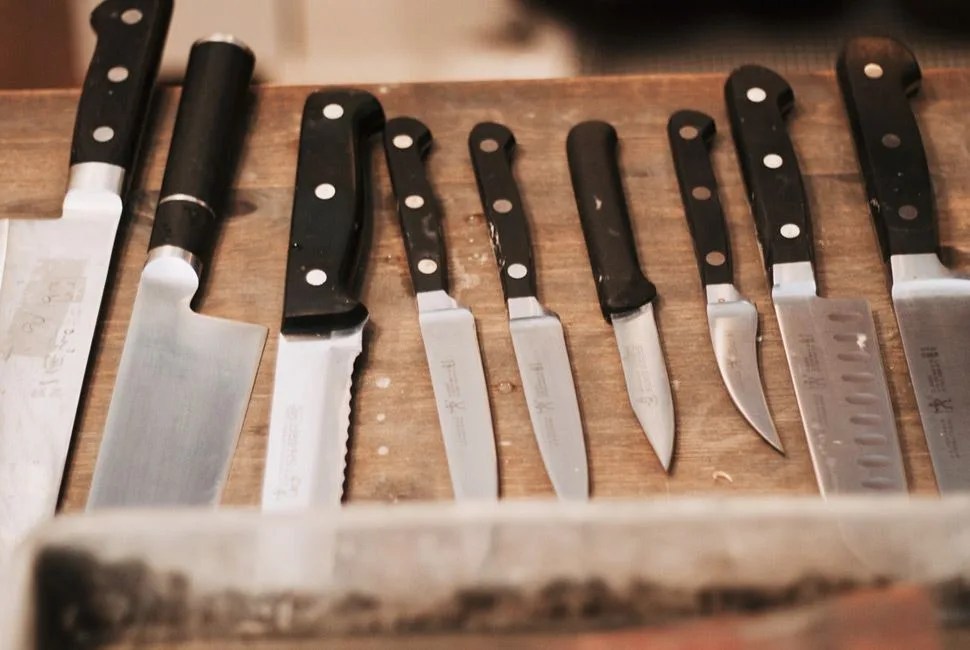
1 Assess the damage. Check the blade edge for nicks and pits, and see if the knife has a clean curve in the taper from tip to end. Oftentimes, supermarket sharpening can be a rush job, and the sharpening will do more damage than good. A knife that shows significant wear requires more intensive TLC, starting with the grinding wheel to reshape the bevel (Step 2). If the knife is in good shape, skip to Step 3 (which you can do at home).

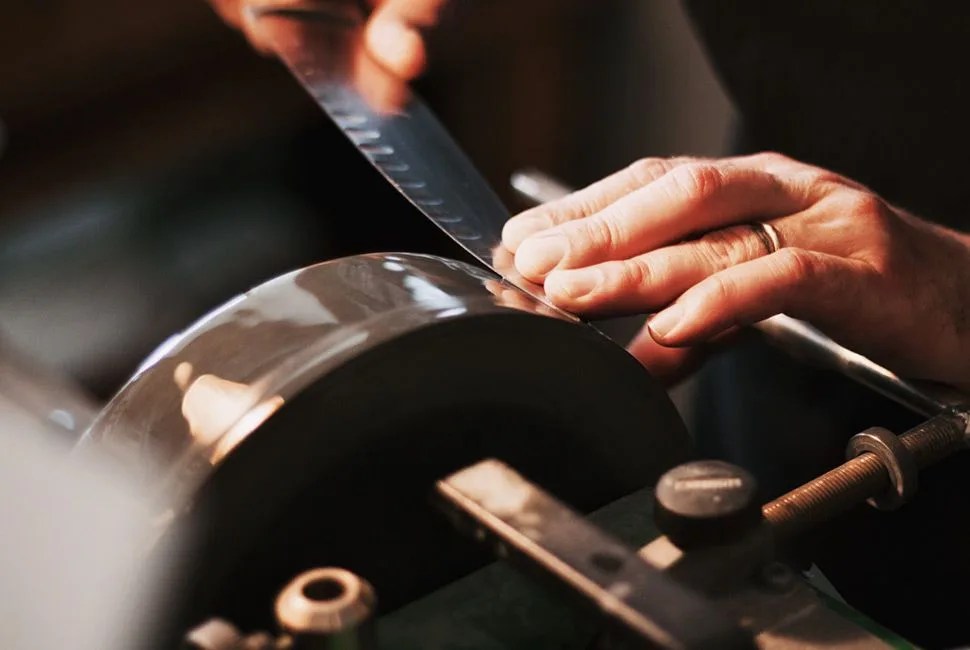
2 Grind the wheel. The wheel uses a coarse stone to literally re-shape the knife’s edge. This is used in extreme cases of knife abuse. With the coarse grit on the wheel and a locking mechanism that can hold the knife, the blade’s edge can be sculpted to a proper and functional edge. It’s best to leave this step to the experts.

Daily Knife Maintenance

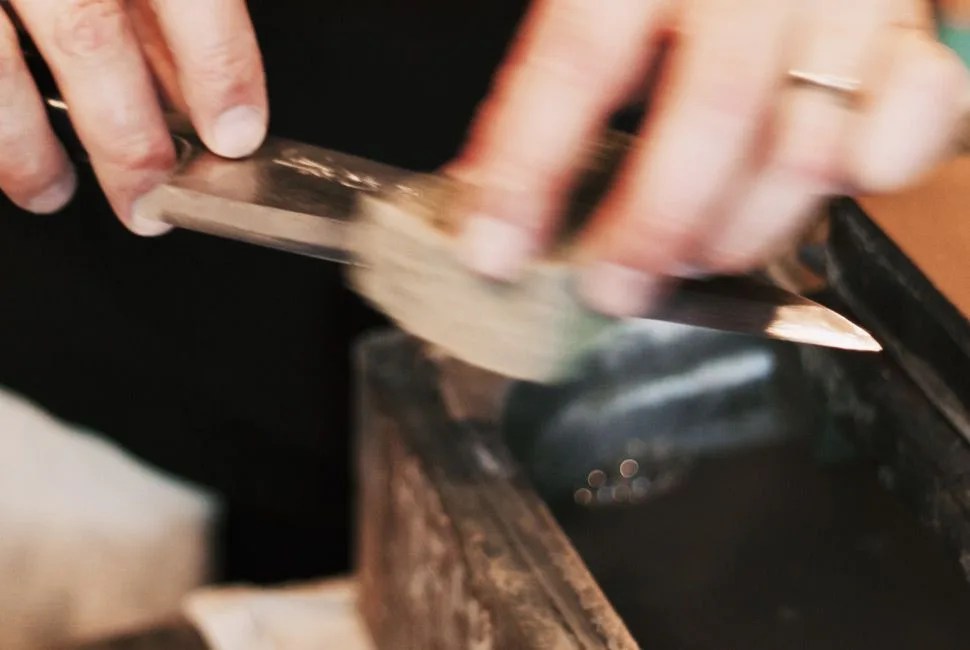
Between sharpening the knife — which should happen, Donald recommends, after every eight hours of use — there are some simple ways to keep your edge.

Cutting Board: A quality end-grain hardwood or a length-grain softwood cutting board is best for knives. Be wary of bamboo (end grain is okay, length grain not so much), and don’t even consider cutting on stone.

Don’t Scrape: One of the easiest ways to dull a sharp knife is scraping the blade on the cutting surface. If you’re redirecting the food on the board, turn the knife over, then slide the spine to move the food.

Go Light on the Steel: A honing steel helps keep an edge, but it should be used gently. Hold the blade at a proper angle, then guide the knife lightly down the steel (Donald compares it to trying to peel a sticker off the steel).

Don’t Cut Coconuts: The worst way to lose a fine edge is getting aggressive with jobs better suited for a machete. Save the bushwhacking for another knife.

3 Work the Stone. With a properly shaped edge, you want to work through different levels of grit to polish the blade into a perfect bevel. On a whetstone, you start by soaking the stone in water, and — for a knife that’s dull but not damaged — begin with a coarse 600 grit. Hold the knife in hand in a traditional pinch grip, then turn your hand so that the thumb faces the ceiling and advance the forefinger to the top edge of the blade. With the edge resting on the whetstone, figure your angle: If it’s a Japanese blade, angle the knife so two quarters can fit under the top of the blade. For European knives, the height is typically three quarters. Then lock your wrist, take two fingers on the opposite hand and press the blade down on the stone. Advance the blade back and forth, working your fingers up the blade. As you approach the tip of the knife, angle the blade up a little, to sharpen the tip.

4 Rinse and repeat. A mud develops as the knife is worked over the stone, so use a sponge to clear the mud from the knife. Then, exchange the course stone for a finer one — a medium 1,000 grit — and repeat the forward-and-back motion. Test the burr (the curl that develops at the blade’s edge) with your finger and look to see if the scratches have been removed. Then, rinse again, and once more up the grit, this time to a fine 6,000-grit stone. Donald conditions this stone first with a nagura stone, then begins the motion again. By the end of this step, the majority of the burr will be removed.

5 Polish on the strop. A knife-sharpening strop lays flat, unlike a barber’s (which is bendable). Condition the strop with chromium oxide, then wipe the blade freehand (without pressing the two fingers for pressure) over the leather. A handful of passes will remove the final vestiges of the burr, and the blade will be sharp and ready for use.

Advertisement - Continue Reading Below
More From Furniture & Design