Every product is carefully selected by our editors. If you buy from a link, we may earn a commission.

How to Wax Your Skis and Snowboard

Wax on, wax off is for more than just the Karate Kid.

how-to-wax-gear-patrol-970-2
Chase Pellerin

To the uninitiated, waxing your skis or snowboard can seem daunting — hot wax? iron? combs? The fear of wrecking your winter investment looms large, and the alternative, taking it to a shop, is dauntingly expensive. Some shops charge as much as $35 for a simple tune-up, and if you are waxing as much as you should (about every fifth trip to the hill), that cost adds up.

But, thankfully, with a handful of simple steps, virtually anyone can wax their setup, saving time and money. A well-executed hot wax will reduce friction, keeping you sliding as fast as you dare, and it will also preserve your base, keeping your skis or snowboard in peak condition all season long.

For simplicity in this article, we recommend Swix tools which are widely regarded as the best, although there are many other companies that produce high-quality waxing tools across a range of budgets.

1Clean your base. 
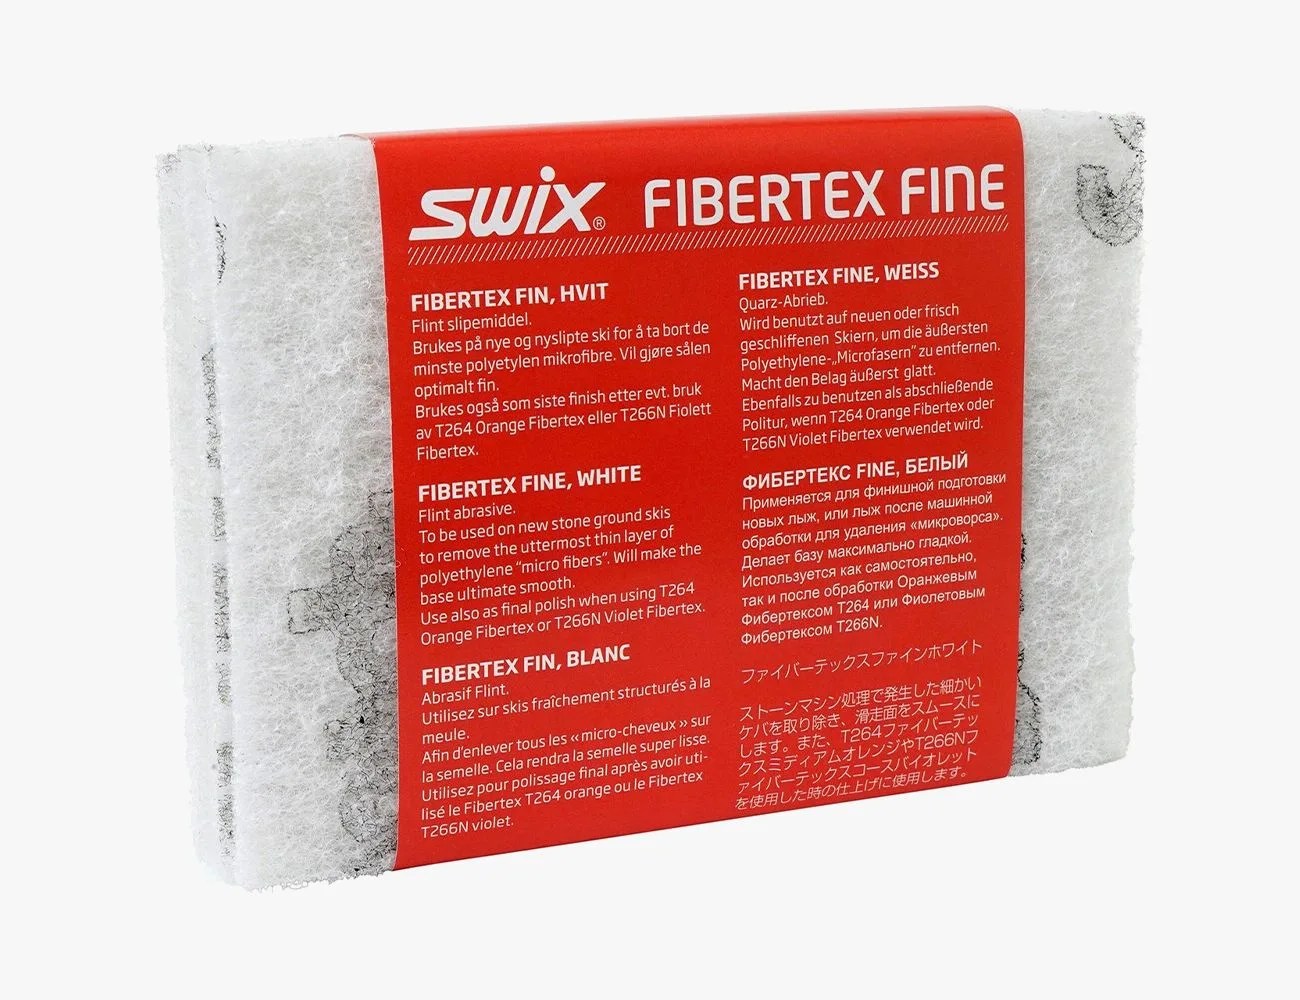
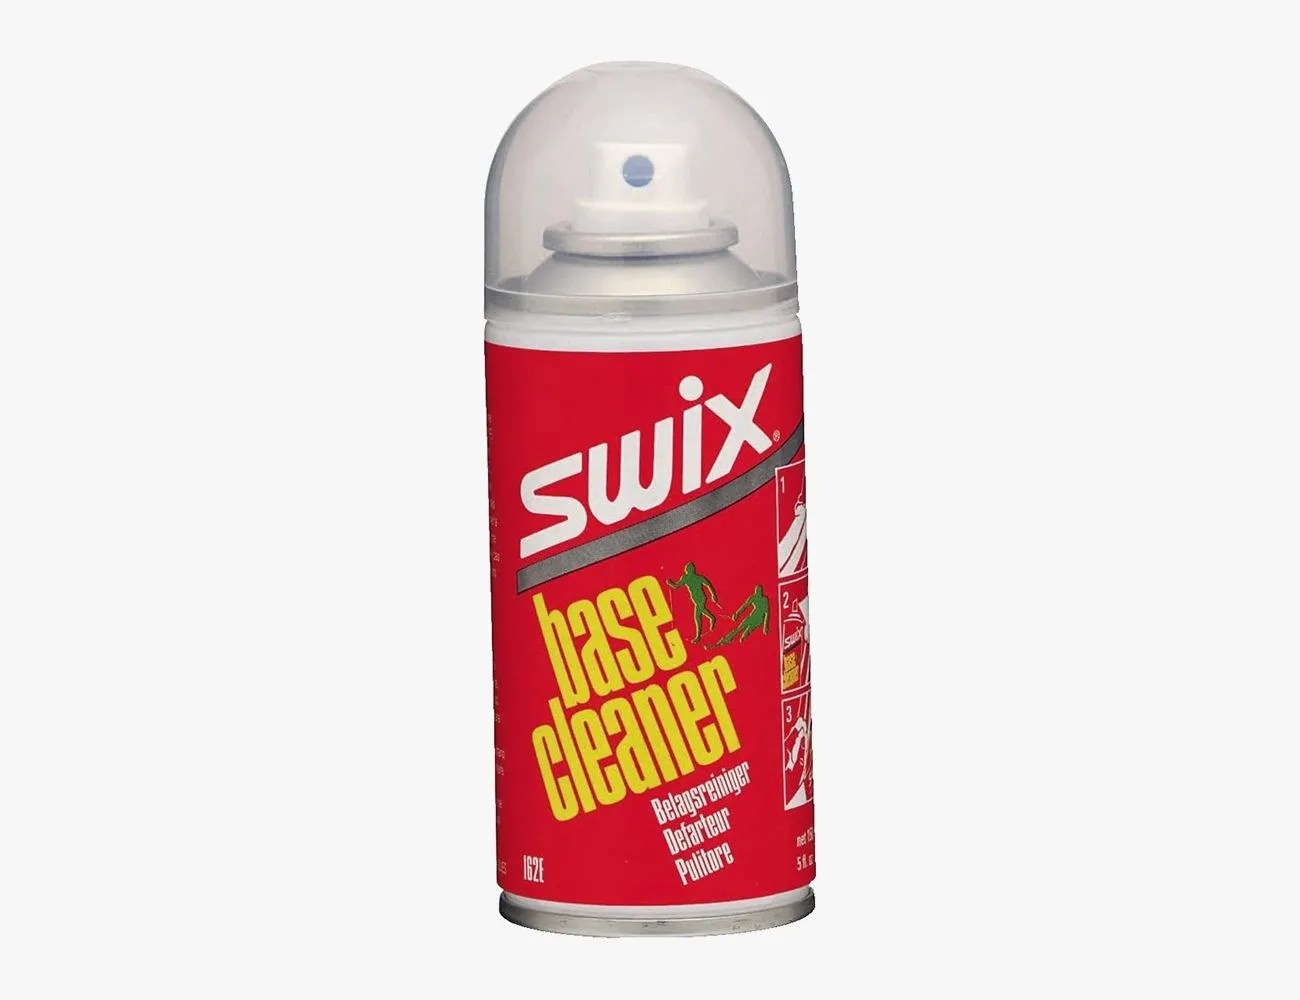
Having a clean base is crucial. Many resorts blow manmade snow that contains oils and is often dirty. This oil and dirt gets into the pores of your base, clogging them and rendering them unreceptive to the wax. Take some Swix Base Cleaner on a paper towel and rub it into the base. Try to work it into each section of the P-Tex — especially near the edges. Let it sit for a bit (about two minutes is fine) to soak in. Then, wipe it down with a fresh paper towel. If you want to get really intense, use a Swix Fiberlene towel with the solvent to get the base extremely clean.

2Use a Fibertex pad to remove mineral deposits. Mineral deposits can also clog your base and can decrease the effectiveness of waxing. Use a Swix Fibertex pad to scrape off any remaining mineral deposits that weren’t taken care of by the base cleaner. If you’d rather, you can also use a Scotch Brite pad or similar products for a fraction of the cost. If you do choose that route, make sure to wipe the base down with a towel to remove any fibers left behind by the pad.

3Heat your waxing iron. If you don’t have a waxing iron, buy one. Using your household iron will ruin it and there’s a greater risk of melting your base. Heating your waxing iron can seem simple, but pay attention to the temperature. Each wax has an ideal melting temperature, and you want to try to get your iron as close to that mark as possible. The melting temperature of your desired wax will be indicated on the packaging. Most waxing irons have a dial to select the temperature.

If you want, you can use two different waxes for steps 4 and 5. We recommend using an all-temp wax for step 4 and the correct, temperature appropriate wax for step 5.

4Rub on hot wax. Take your bar of wax and touch it to the iron. It should melt readily, but it shouldn’t run quickly off the edge of the iron. Melt the end of the wax and rub it on the board, dispersing it around the entire surface. As the tip of the wax cools, continue to touch it to the iron to keep it melted. You aren’t looking for complete coverage, just to put wax down in spots. If you’re crunched for time this step can be skipped, but it helps to ensure complete wax coverage and is an easy way to blend waxes for the right combination required by the snow conditions and temperature. If you don’t know which wax to use, check out our wax guide here.

5Drip wax evenly across the entire base. Hold the wax against the iron so that it drips off the edge and onto the base. Work your way up and down the base until it is dispersed evenly. You don’t need too much wax here, just enough so that wax dots are evenly spread across the entire surface.

6Iron the wax until the whole base is covered. Take your iron and run it all over the base, melting the wax dots. Make sure that there is a thin, even layer across the entire base. Be sure not to hold your iron in one place for too long as it can lead to base melting and delamination (neither of which are covered under the manufacturer’s warranty).

7Let the wax cool and scrape off the excess. Letting the wax cool is important. If you try to scrape off the wax right away, some of it will still be malleable, making it exponentially more difficult. The wax should be cool to the touch. Take your scraper and work your way from tip to tail using a pushing motion. Some people prefer to pull the scraper towards them, but this motion offers less control and can lead to dents in your base. Use short and deliberate motions until most of the wax is removed, then move to longer broader strokes. You should scrape all the way down to the base. Don’t worry about taking off too much. The wax will be on the surface and in the pores of your base.

8Use a brush to finish. Once the excess wax is scraped off, use a wax brush to put tiny grooves in the wax surface. There are many brushes, but horsehair is the best style (although it is more expensive). If you’re on a budget, nylon brushes also work well. Use broad sweeping strokes down the base, going from tip to tail.

Advertisement - Continue Reading Below