If you buy from a link, we may earn a commission. Learn more
You never want to look like a wrinkled mess, even if your suit jacket will cover your less-than-tidy dress shirt. It’s important, especially if you are wearing a suit, you prepare your outfit accordingly — wash it, dry it and iron it, all while ensuring it fits when you first buy it.
But ironing is an intimidating task — one many saw their parents do and have since avoided. It’s an easy way to ready a shirt for a big meeting or other special occasion.
How to Iron a Shirt
An iron is helpful for a number of situations, especially for dress shirts and dress pants where you need to press pleats and creases. Compared to a steamer, irons allow for more control and precision. You’ll also want to use an iron over a steamer for heavier fabrics like denim or thick canvas, too.
There are some downsides, however. Irons take up more space since you need an ironing board. And because an iron has direct contact with the garment, you run the risk of scorching your favorite shirt just before an important meeting. That said, you can achieve a crisp garment with the proper technique.
What You’ll Need
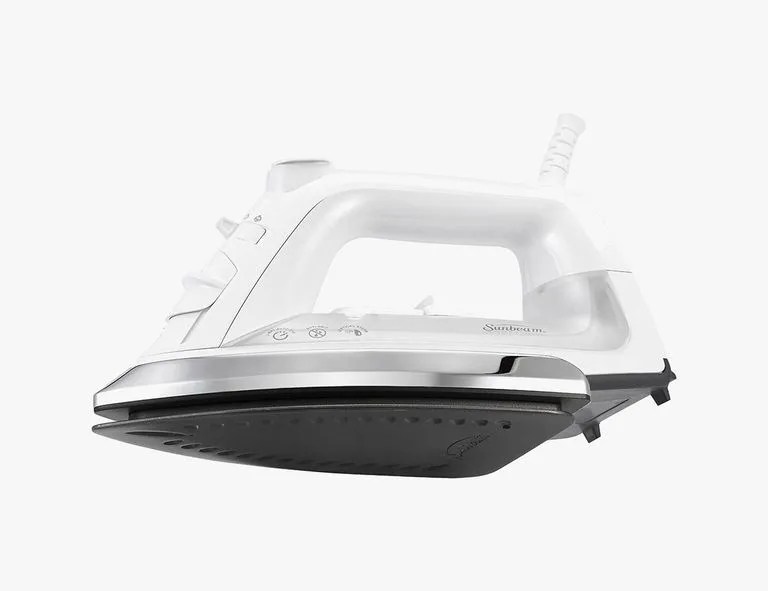
Iron
Obviously, you’ll need the right tool for the job. Irons with more holes are more effective at distributing steam. Many irons today will include adjustable heat settings with helpful guides for each fabric. Heavier irons are also better at smoothing out the wrinkles since they require less pressure from you to smooth out the wrinkles.
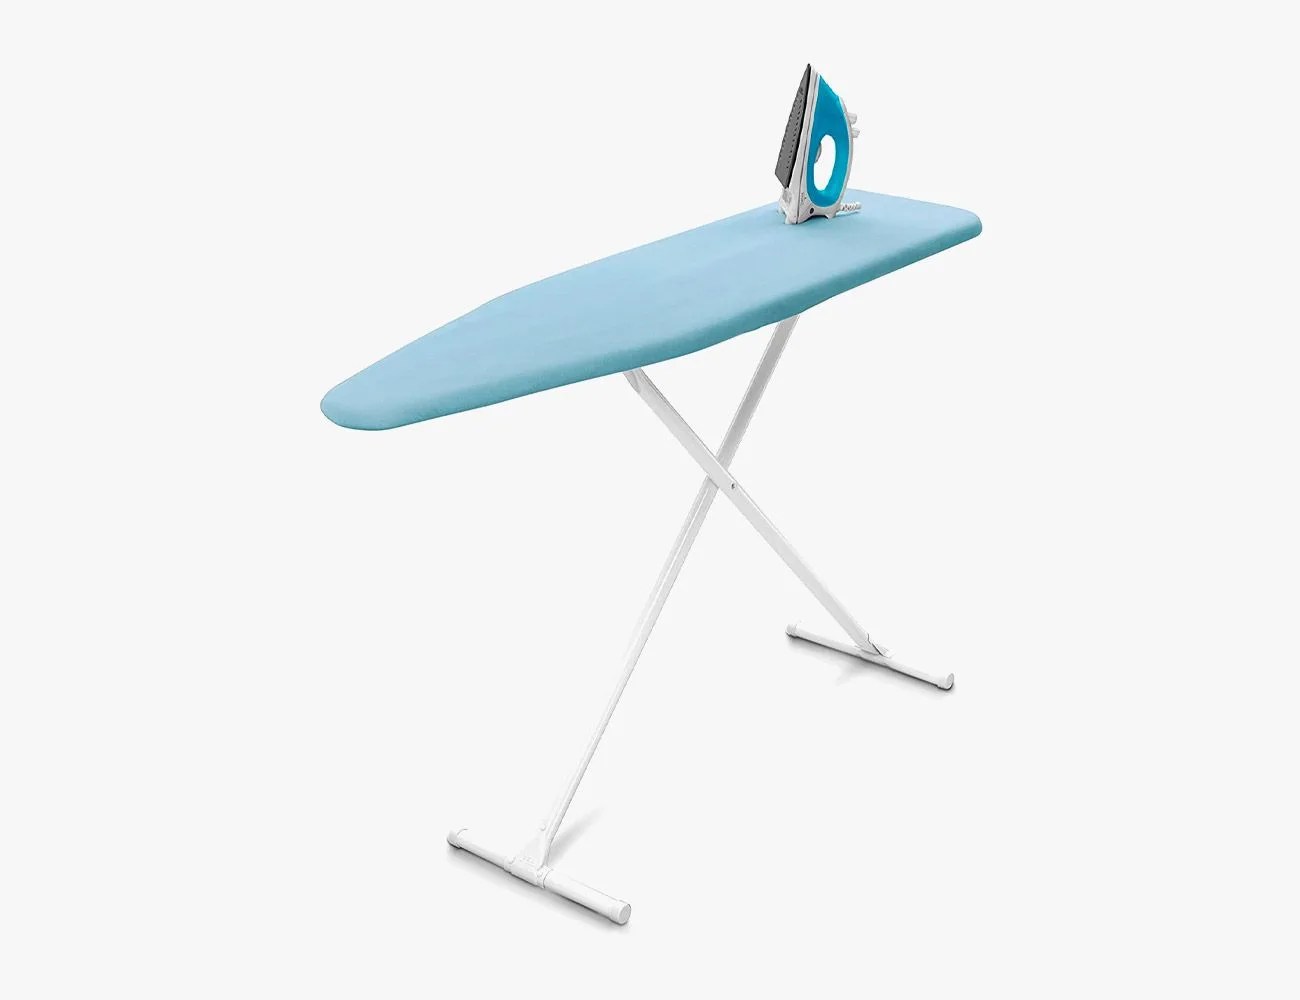
Though compact — tabletop ironing boards are convenient — you actually sacrifice the space you need to maneuver around the garment. Old-fashioned standup ironing boards allow the clothes to hang away from you, rather than draping onto a tabletop. We like ironing boards with iron trays since they’ll keep the board from being scorched.
Spray Bottles (if Your Iron Doesn’t Have a Mister)
It’s easier to get out the wrinkles with clothes that are a bit damp. And, you can use it to mist your plants or spray misbehaving cats, too.
Instructions
Step #1: Get Set Up
Find a spot near an outlet and with enough space to navigate easily. Try to avoid plugging in your iron in a high-traffic area to reduce the risk of an accidental wire trip.
Step #2: Prep Your Tools
Make sure that both the iron and the ironing board are clean, void of any dirt and starch. These can potentially stain your clothes as you iron them. If you’re ironing multiple clothes, organize them according to the recommended heat setting on the label, from coolest to hottest. It’s faster for an iron to heat up than it is to cool down, so ironing your clothes from coolest to hottest will save you time. Plus, you’re less likely to burn your clothes if you start cooler.
Step #3: Prep Your Clothing
The easiest time to iron your clothes is right after you launder them. You want to iron clothes that are clean so that you don’t bake in existing stains, and a freshly laundered garment has fewer wrinkles to iron out.
Step #4: Lay Out Your Garment
Lay your garment on the ironing board length-wise and with the wrong side of the fabric facing up. Ironing tends to give fabrics a sheen which is generally undesirable, which is why ironing is better done on the wrong side of the fabric. It also helps keep the texture of certain fabrics like corduroy.
Step #5: Smooth Out the Garment
With your hands, smooth the fabric flat to get rid of any ripples before you place the iron on the garment. This way, you avoid accidentally ironing over a ripple and putting in a crease.
Step #6: Spray Your Garment
It’s easier to iron clothes that are slightly damp because the water molecules penetrate the cloth’s fibers and soften them as the water vaporizes. Using a spray bottle, you can mist your clothes to ease the process. Be sure not to drench your clothes, otherwise, you’ll be spending more time drying them than ironing out wrinkles.
Step #7: Press
As you press, keep the iron moving and don’t linger in any one area for too long, to avoid scorching the fabric. Do not iron directly over any buttons or zippers. Instead, iron them on the wrong side of the fabric. For button-up shirts, unbutton the placket, cuffs and collar to more easily press them flat. For trousers with a center crease, make sure you line up the center carefully. It’s helpful to place the trousers on its side, with the inseam and outseam lined up directly on top of each other. In between garments, make sure your iron sits upright. Never leave your iron sitting face down while it’s turned on.
Step #8: Hang Dry
Once you’re done, place the garment on a proper hanger immediately. If you plan on wearing the garment right away, try to let it hang for about 10 minutes or so. It’s still a bit moist right after ironing, and is still more prone to wrinkling, so it’s best to let it settle, if you have the time.
Step #9: Pack Up (but Only Once Everything’s Cooled Off)
Let the iron fully cool before storing it away. If your ironing board has starch or somehow becomes soiled in the process, take off the protective cover and launder it before your next ironing session.

 Amazon